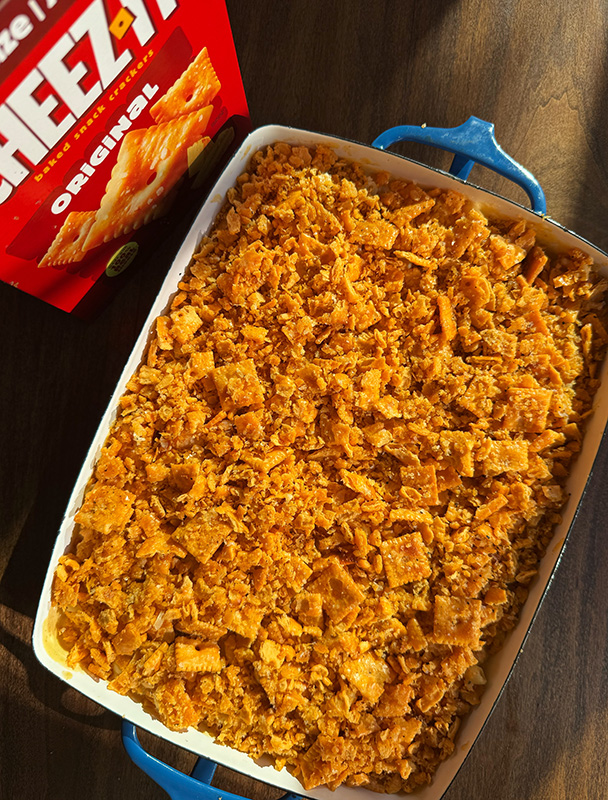
Mac and Cheez-It®
Your new favorite holiday side. Mac and Cheese meet Mac and Cheez-It®.
Ingredients
- 1 pound cavatappi or other short pasta
- Kosher salt, to taste
- 10 tablespoons unsalted butter, divided
- 1/4 cup all-purpose flour
- 4 cups whole milk
- 3 cloves garlic, finely grated
- 1 teaspoon smoked paprika
- 1/4 teaspoon ground nutmeg
- Freshly ground black pepper, to taste
- 6 ounces sharp yellow cheddar cheese, grated
- 6 ounces sharp white cheddar cheese, grated
- 6 ounces Gruyère, grated
- 6 ounces comte cheese, grated
- 4 cups Cheez-It® crackers, roughly crushed by hand
- 1/2 cup finely grated Parmesan cheese (about 2 ounces)
- Thinly sliced chives, for serving
Directions
1. Bring a large pot of heavily salted water to a boil and cook pasta until it’s barely al dente. Drain and set aside.
2. Melt 4 tablespoons butter in a large pot over medium heat. Whisk in flour and cook, whisking constantly, until the flour is lightly toasted and fragrant, about 3 minutes. Gradually add milk, whisking between additions until mixture is cohesive. Add garlic, paprika, nutmeg, and season with salt and pepper. Bring to a gentle simmer, whisking constantly. Once the mixture coats the back of a wooden spoon, it’s sufficiently thickened.
3. Add grated cheese and whisk to blend until the cheese is completely melted. Season with salt and pepper and add cooked pasta, stirring to incorporate..
4. Heat oven to 425 degrees, place a rack in the center of the oven, and place a 13x9 baking dish over a sheet pan.
5. Melt remaining 6 tablespoons butter and combine Cheez-It® Crackers, melted butter and parmesan, in a medium bowl. Season with salt and pepper and toss to combine.
6. Transfer the macaroni and cheese mixture to prepared dish and scatter Cheez-It® cracker crumbs evenly over the top. Bake on the center rack until macaroni and cheese is bubbling and bread crumbs are toasty, 30 to 35 minutes.
7. Let cool slightly before serving. Top with chives and enjoy.

Related recipes


Get 20% off!
Sign up to get an exclusive 20% off coupon and be the first to know about new flavors, drops, swag and get personalized content and more exclusive coupons!
THANK YOU!
Check your email for your 20% off discount code!
It may take up to 24 hours to receive your code.
Something Went Wrong
We're sorry, but we couldn't complete the request at this time. Please try again later.
Looking up your information…